RSL 2
Gallery C (Scott Murdock photos)
- Photo Sources:
-
- Snnn:
-
Scott Murdock's 2012 trip report
North in November (new window).
(GSA tour for prospective SRMSC buyers.)
Copyright © 2013, Scott D. Murdock. Used with permission. - 046nn:
- Greg Preston
- 7nnn:
- Historic American Engineering Record: SRMSC
General View
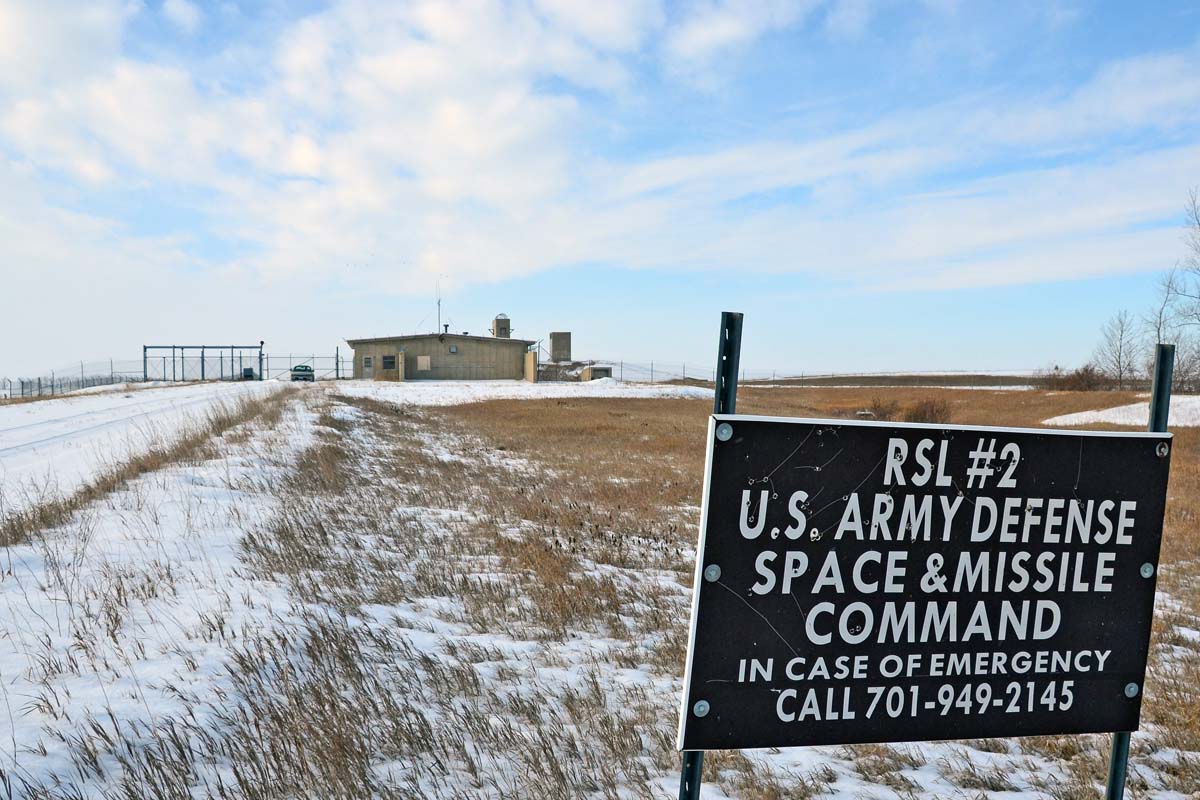
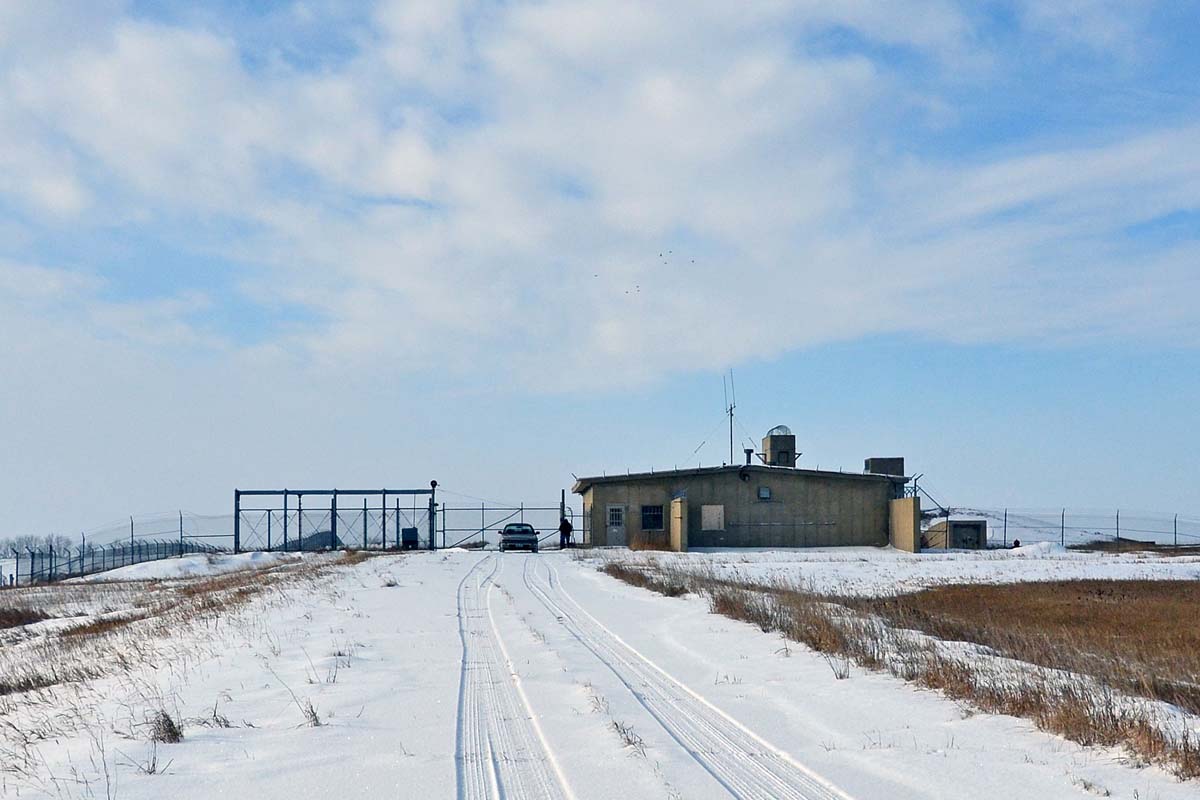
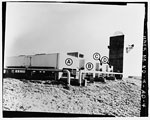
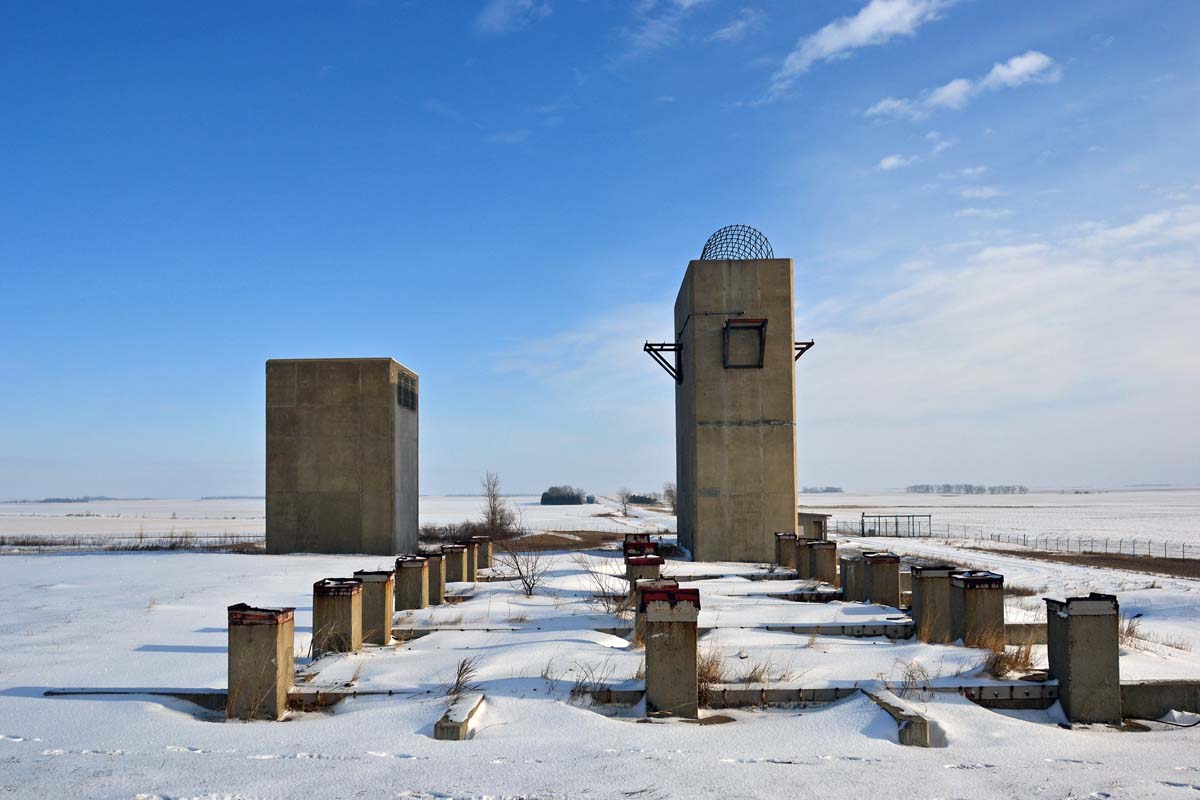
- S116: View from main entrance gate showing sally port and LASS with RLOB partially visible behind LASS. The missile field is located to the right of the photo.
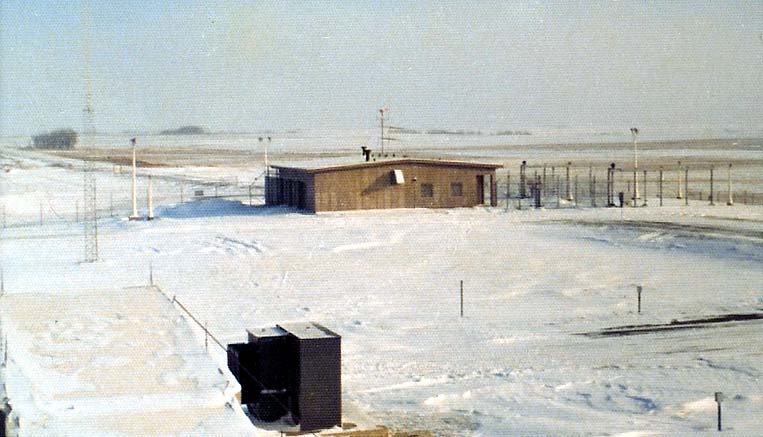
- 04614: View of LASS from top of RLOB, 1976.
- S122: View of LASS from top of RLOB, 2012.
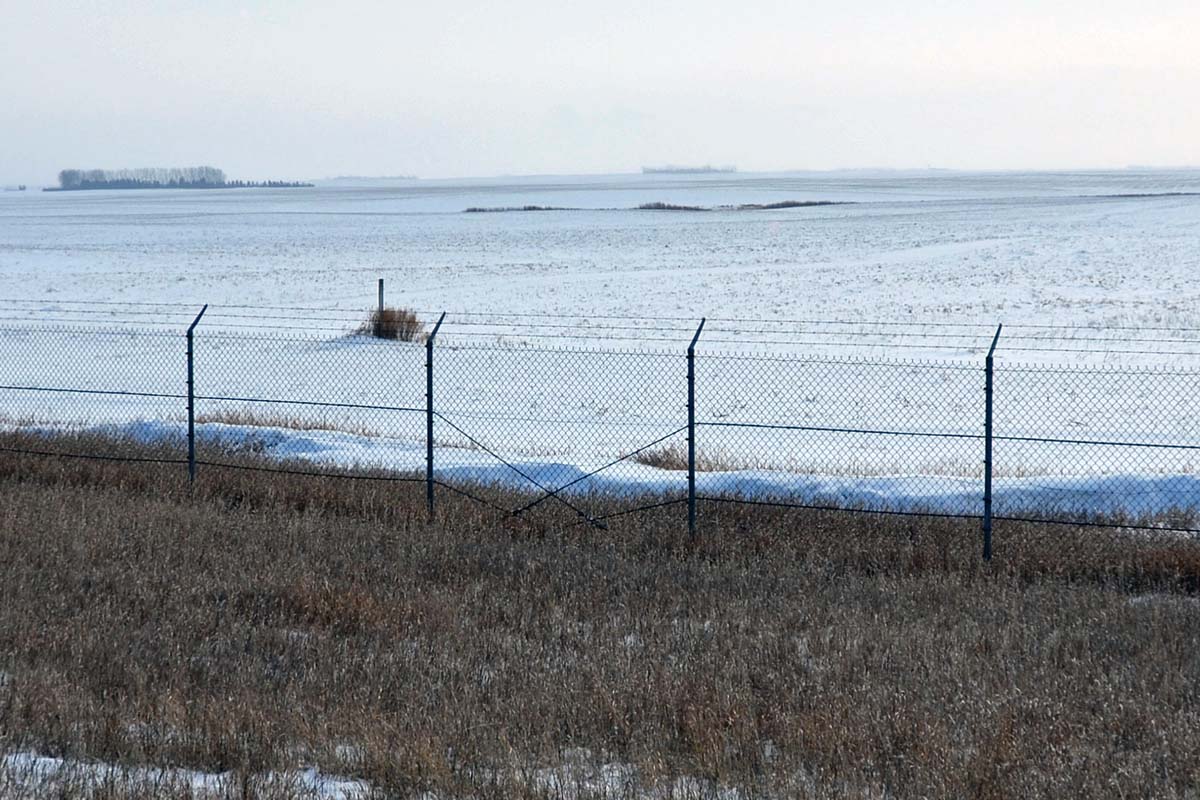
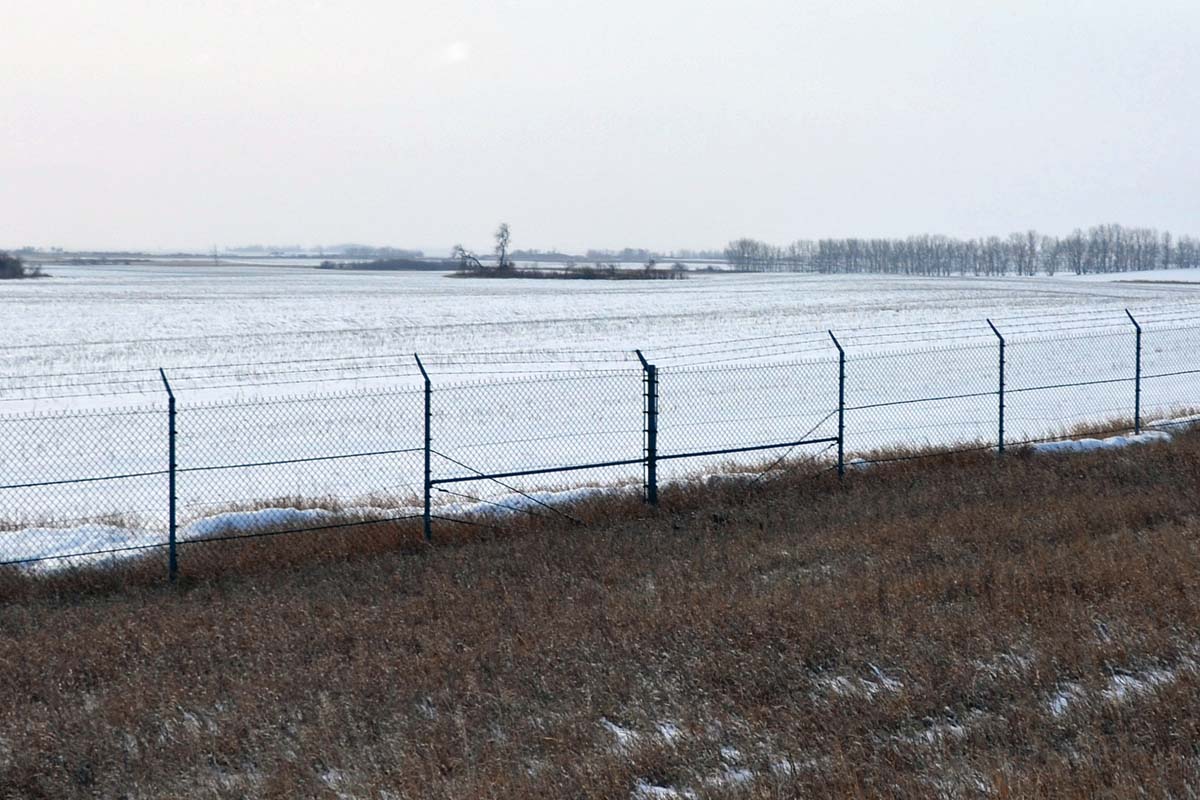
- S117, S118: Security fence showing tie-down cabling.
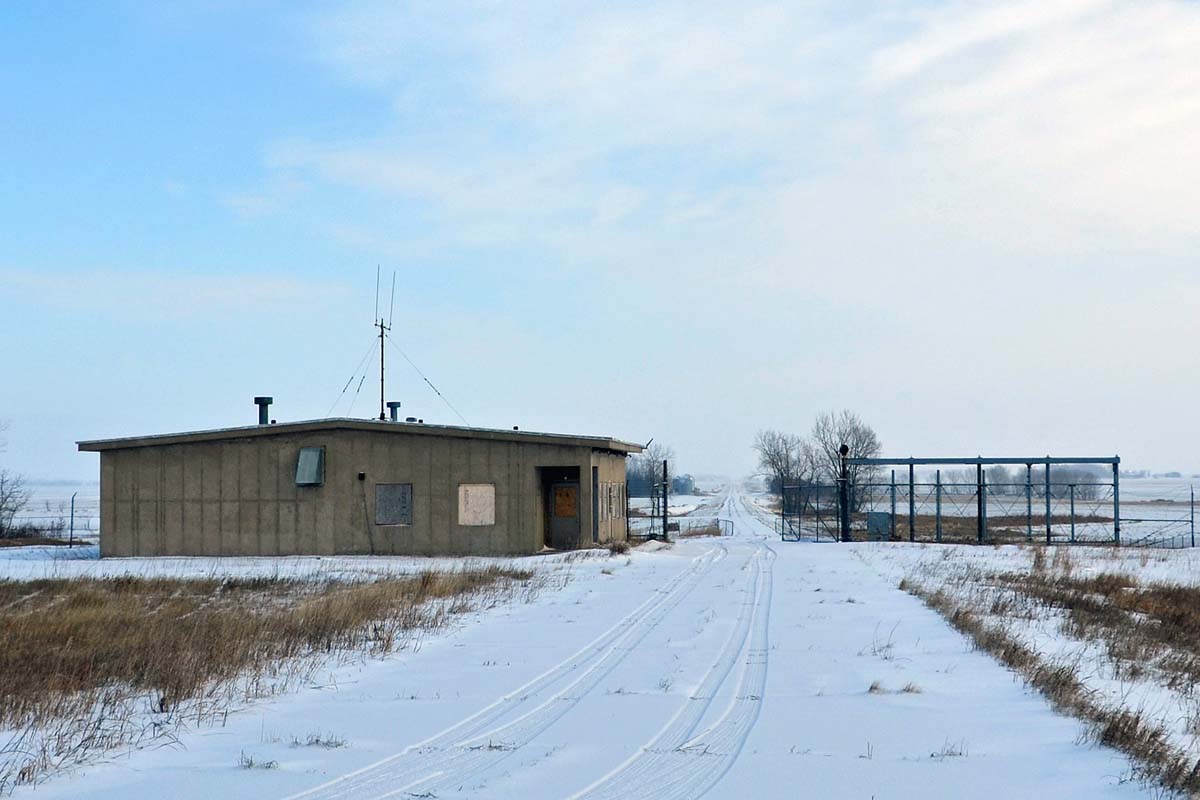
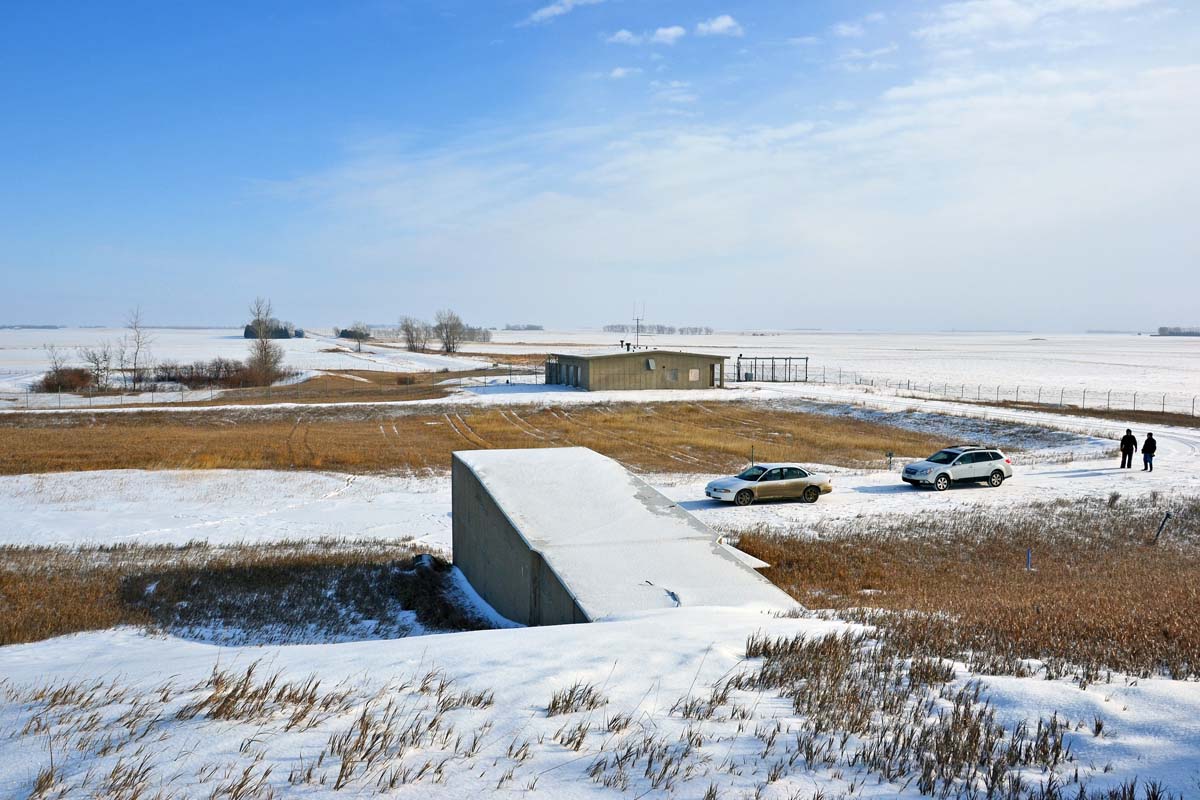
- S120: Sally port (left) and LASS (right). RLOB is partially visible behind LASS.
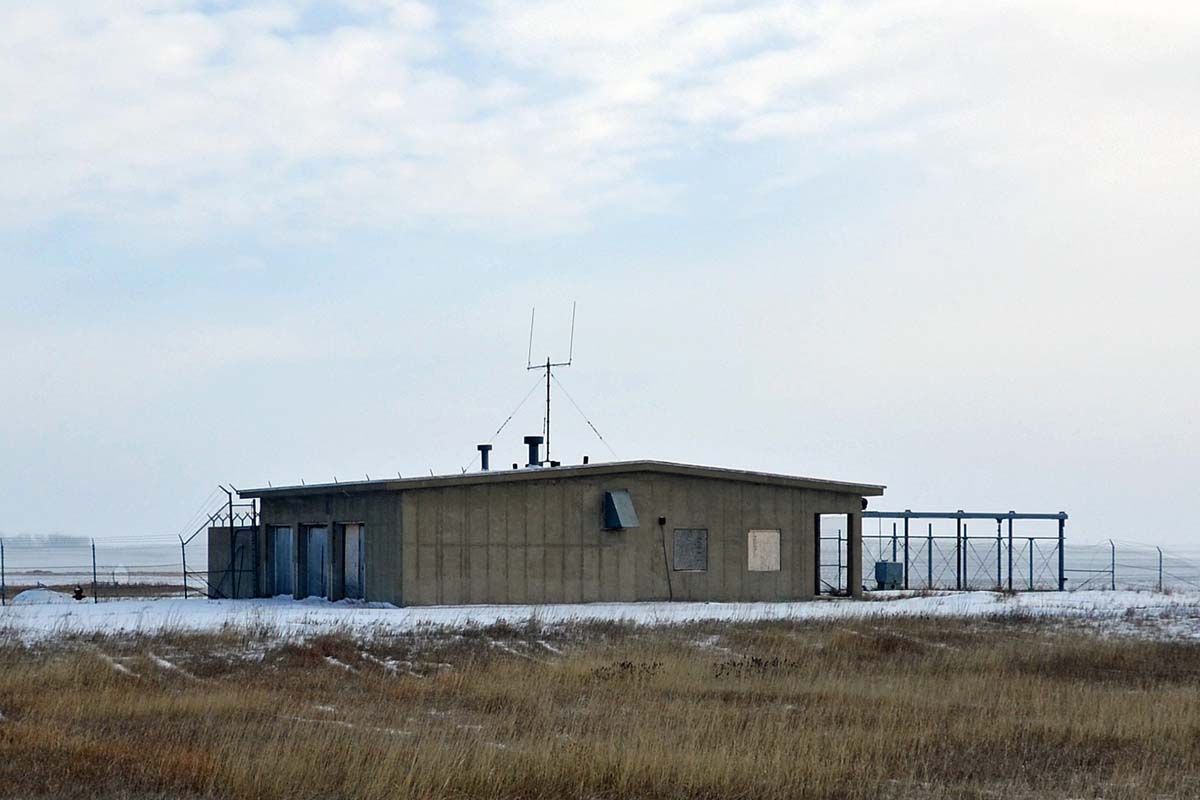
- S119, S121: Rear view of LASS.
Exterior

-
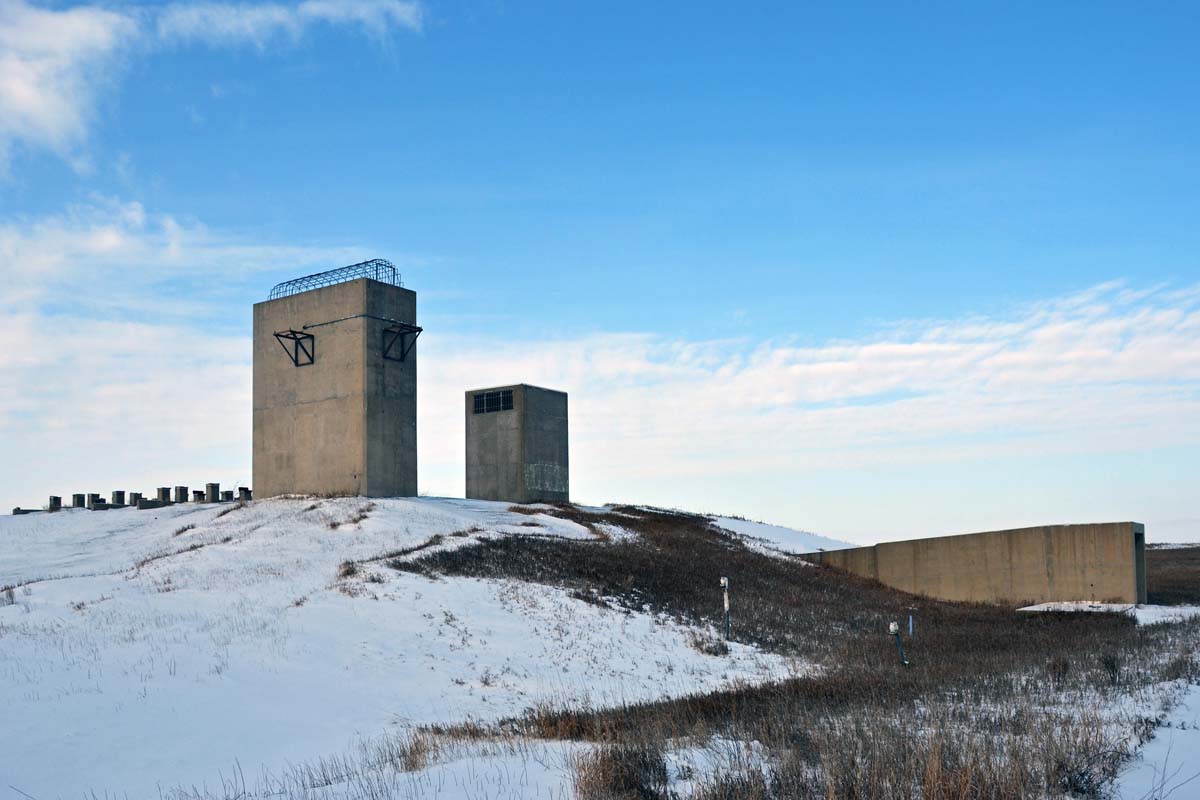
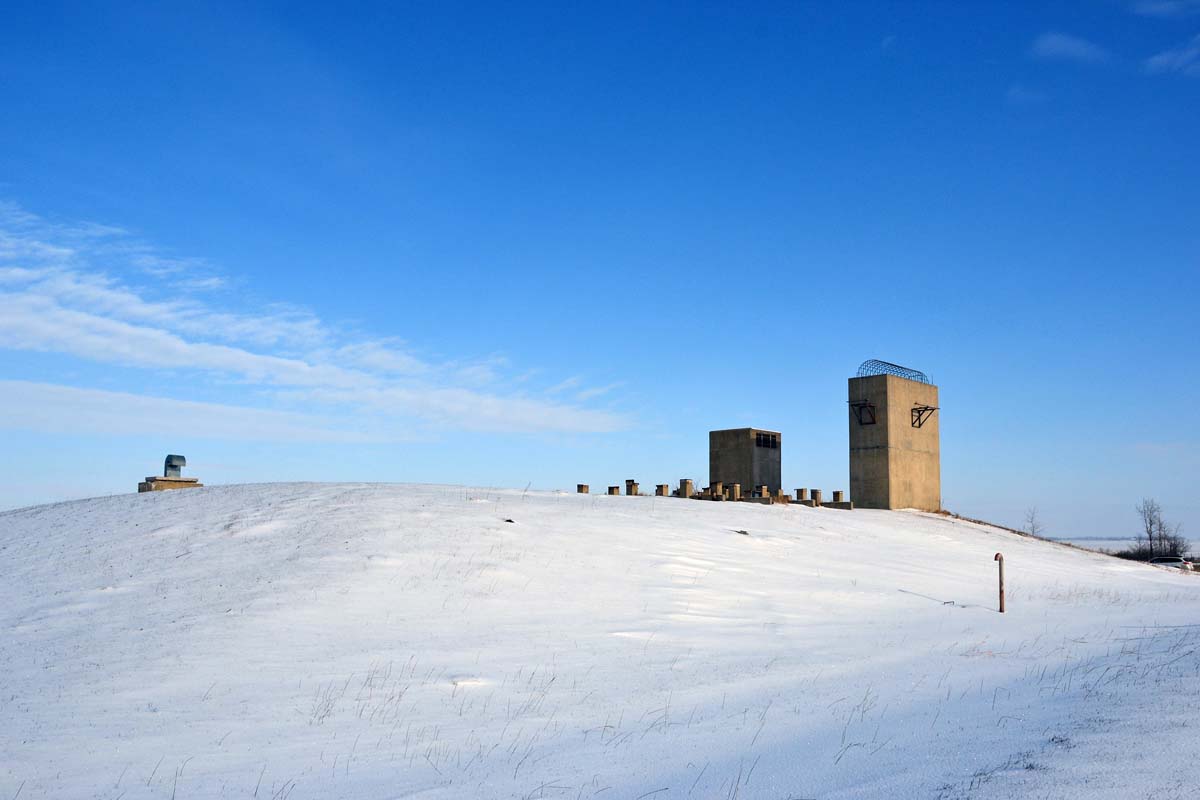
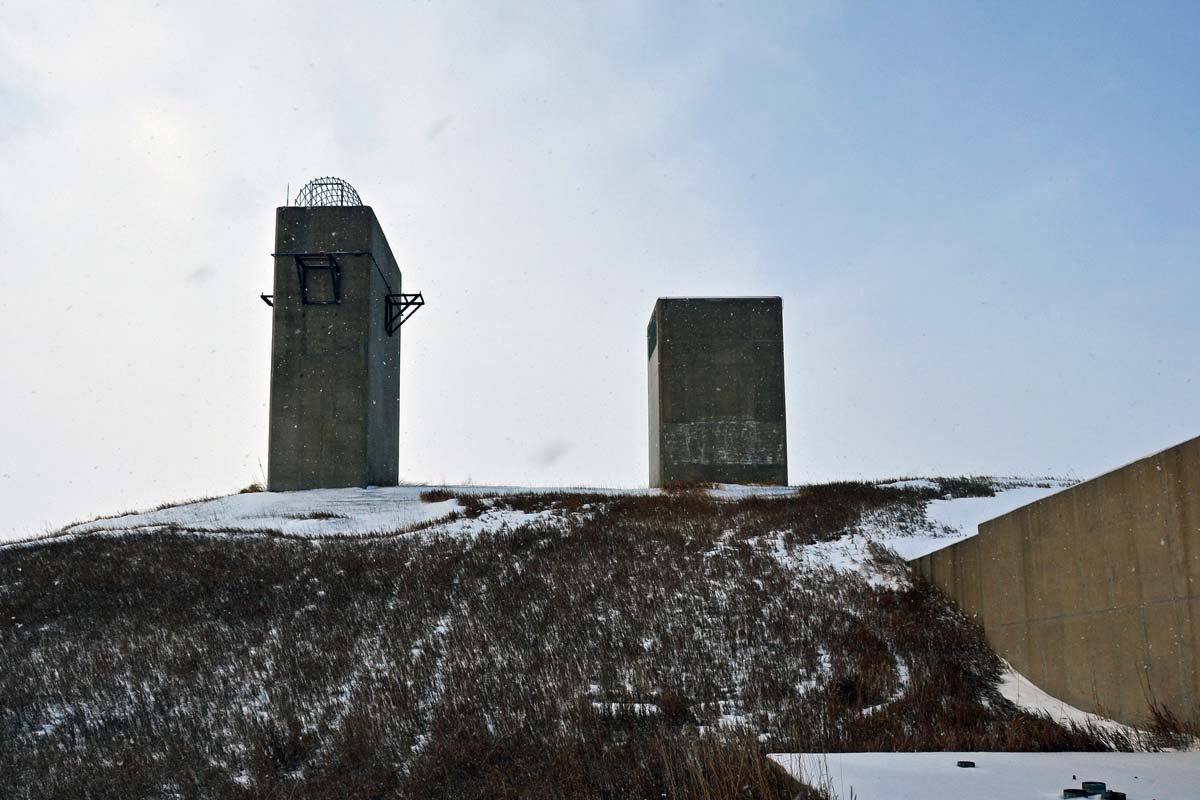
S115: Left to right:
- Mounts for heat exchangers.
- Exhaust stack.
- Intake stack.
- Entrance tunnel.
- 7485: Heat exchangers, 1974 (photo shows RSL 3).
- S124: Heat exchangers, 2012.
Interior
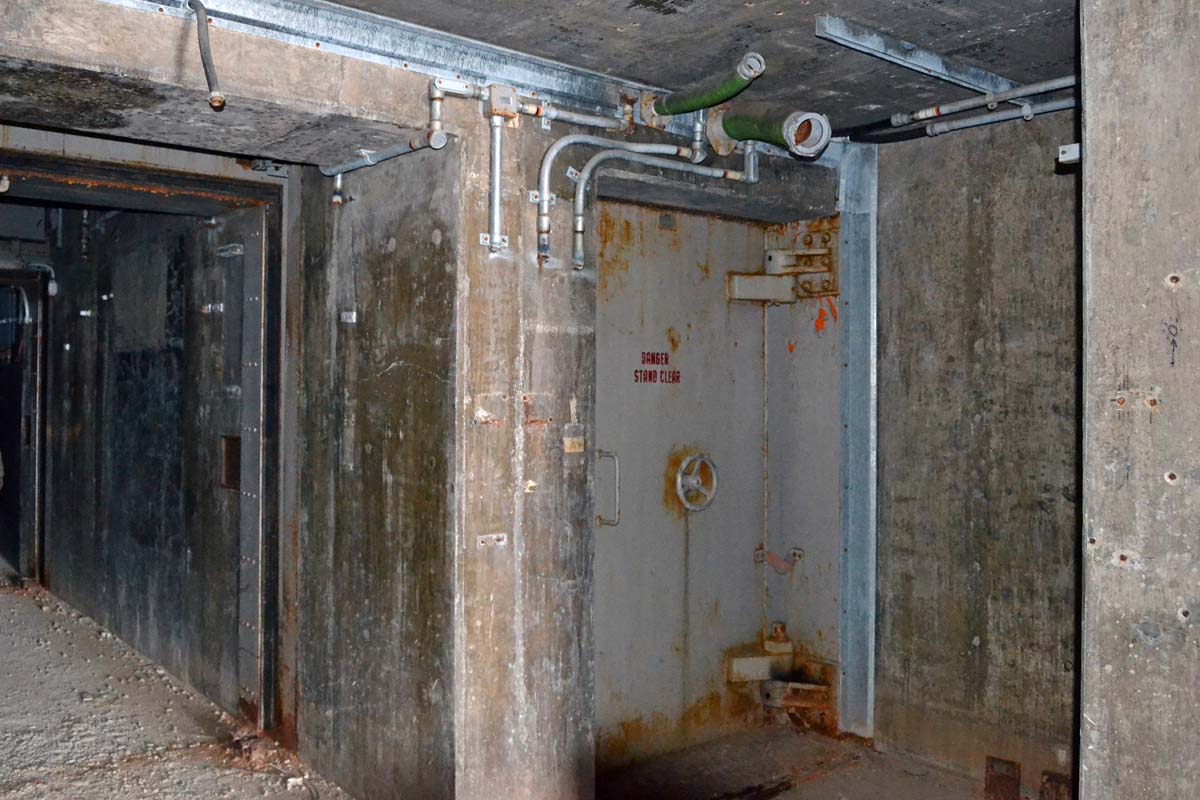
- S127: Main corridor blast doors (left), personnal access blast door (right) leading to decontamination area.